Connect Cloudflare D1 to SQLAgent in 60 Seconds
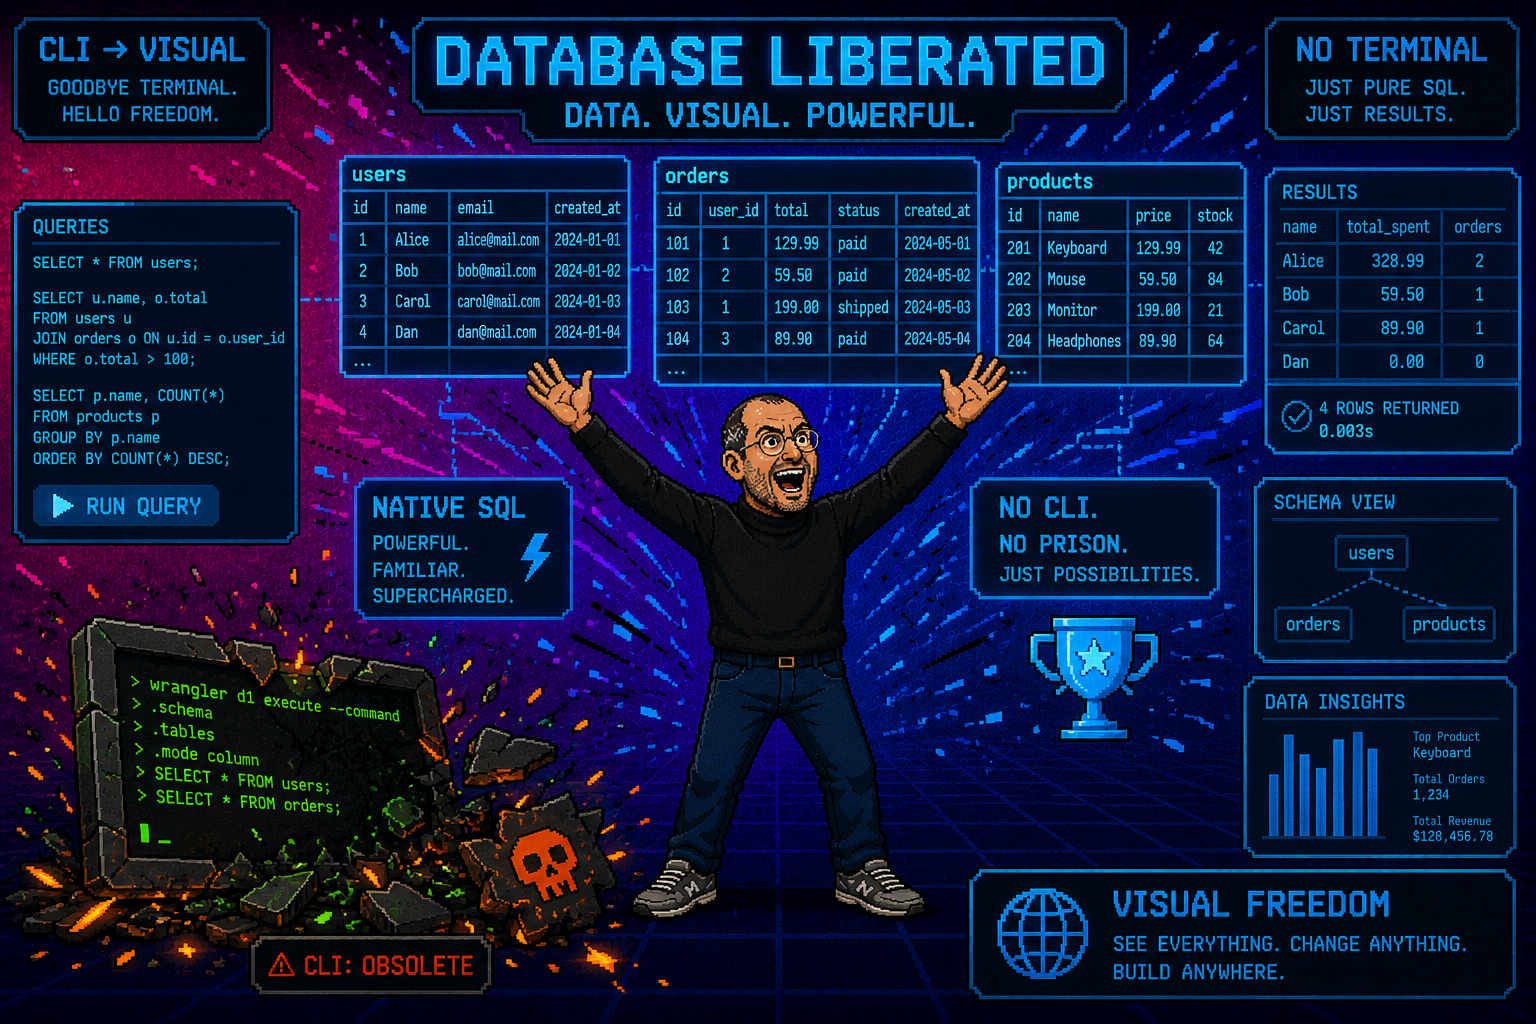
You don't need Wrangler, the terminal, or the Cloudflare dashboard's query editor. SQLAgent connects directly to your Cloudflare D1 database — and the whole setup takes about 60 seconds.
What you need before you start
| Cloudflare account | Free plan is fine. You just need at least one D1 database created. |
| API token | A custom token with D1 Edit (or Read) permissions. We'll create one below. |
| SQLAgent | Download the free version — no signup required, macOS 14+. |
Step 1: Find your Account ID
Your Cloudflare Account ID is in the right sidebar of any zone page on dash.cloudflare.com. It's a 32-character hex string. Copy it — you'll need it in a moment.
If you don't have a zone set up, go to Workers & Pages — your Account ID appears in the URL itself: dash.cloudflare.com/your-account-id/workers-and-pages.
Step 2: Create an API token with D1 access
Go to dash.cloudflare.com/profile/api-tokens and click Create Token. Cloudflare's pre-built templates don't include D1, so you need a custom token:
- Scroll to Custom token and click Get started
- In the permissions row, leave the first dropdown on Account
- In the search field, type d1 — the D1 permission appears immediately
- Pick Edit (read + write) or Read (browse only)
- Click Continue to summary → Create Token
- Copy the token now — Cloudflare only shows it once
Step 3: Open the connection form in SQLAgent
Launch SQLAgent and click New Connection. The D1 tab is selected by default. Fill in three fields:
The 32-char hex string from Step 1. SQLAgent autocompletes from your saved connections as you type.
The token you created in Step 2. Paste it or use the clipboard button. Masked by default for security.
Optional. Leave it empty and SQLAgent lists all databases under that account. Or paste a specific ID to jump straight in.
Step 4: Connect
Hit Connect. SQLAgent validates your credentials, fetches the database list, and opens your first table in a sortable, filterable grid. From here you can:
- Browse and edit rows inline — changes write back to Cloudflare D1 immediately
- Open the SQL Editor and run any query with syntax highlighting and history
- Export data as CSV, TSV, or SQL in one click
- Use the AI assistant (Pro) to write queries from plain English
What about the Cloudflare dashboard?
The Cloudflare dashboard's built-in query editor works for one-off SQL runs, but it doesn't have a data grid, no inline editing, no export, and no query history. SQLAgent gives you a proper database client — the kind you'd use for MySQL or PostgreSQL, but purpose-built for Cloudflare D1.
Security
Your API token and Account ID are stored in your local macOS Keychain — never in the cloud, never transmitted to any server other than Cloudflare's own API. SQLAgent connects directly to api.cloudflare.com. Nothing goes through our servers.
The token security banner in the connection form shows a real-time preview of which Cloudflare account your token is scoped to, so you can verify at a glance before connecting.
Ready to connect?
SQLAgent is free to download. No account, no subscription required to get started with Cloudflare D1.
Download SQLAgent — Free